|
1. Two tools that I used this year are the pottery wheel and the ribbon tool. The pottery wheel was so much fun even if I only used it twice, and I used the ribbon tool to sculpt and shape my piece. The wheel is used to physically sculpt a piece. The ribbon tool is to carve into an already made piece. It can add designs, like how I used it in sgraffito, or it can sculpt and change a piece like how I used it on the wheel. 2. My knowledge of tools has changed tenfold since the beginning of the year, because I had never used any sculpting tools at the beginning of this year, and now I have experienced a wide range of tools and integrated them into my art. 1. Regardless of whether you liked or disliked a project, which one did you learn, grow, or developed the most from? Please explain. I learned the most from the papier mache project. it was painful for me to do becaus of all this tedious effort and the mishaps that occurred. Despite all of that, I finished the piece. It wasn’t great by any standard, but it was finished. 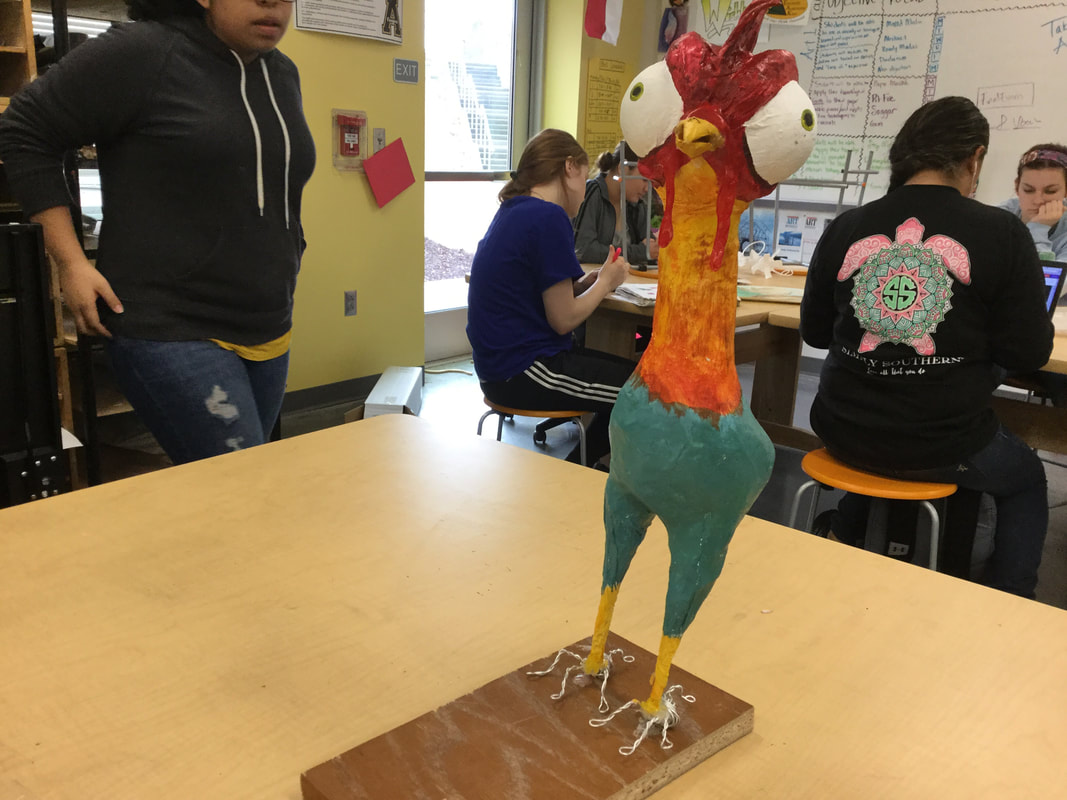 2. What is a technique you used in your artwork that worked well? Explain what technique it was and why it was successful. Something that I learned to do very well this year was delicacy. I needed delicacy for my paper project, for my sgraffito, and for my pottery wheel piece. It is something I struggle with as an artist, and this class really allowed me to be careful and tedious and put tremendous effort it. 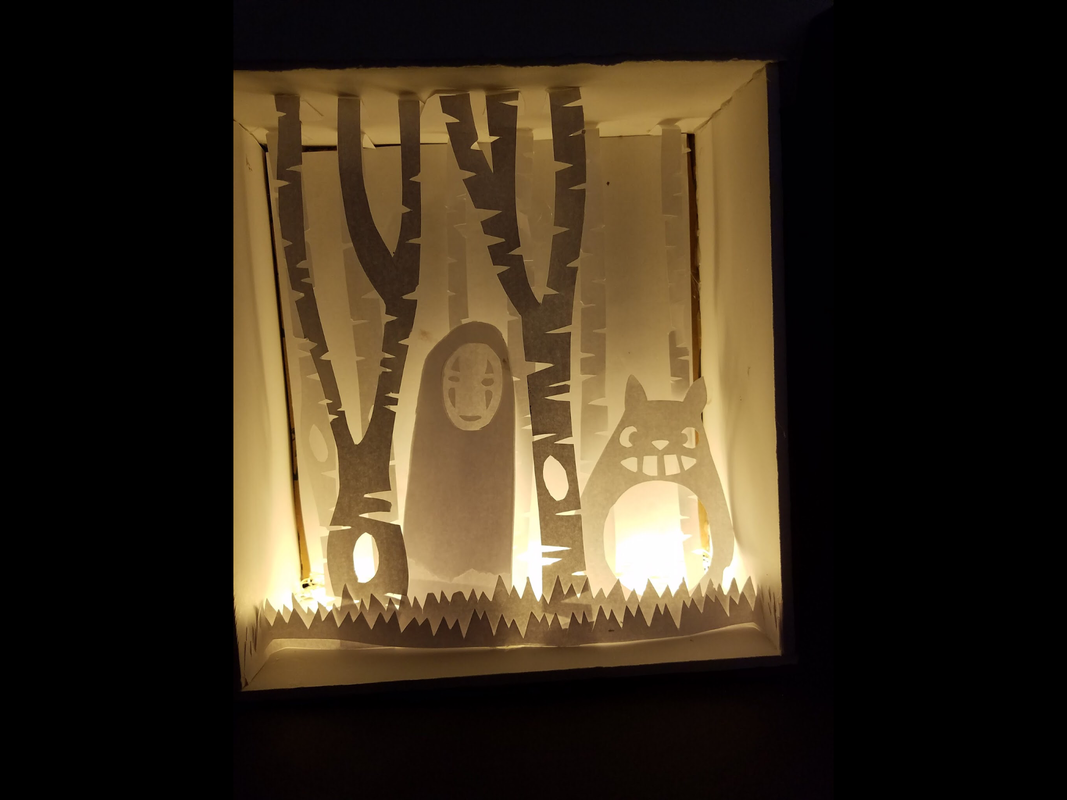 3. Choose a place or artwork where the subject matter reflects you as an artist. One that you have a personal connection to. Please explain. An artwork that I made that I have a personal connection to is the egg bowl sgraffito sculpture i made. My grandmother and grandfather used to have a bowl filled with decorated eggs in their house, and this year, my Grandfather passed away. I felt like I needed to make something to honor him. I feel like I did so in this piece. 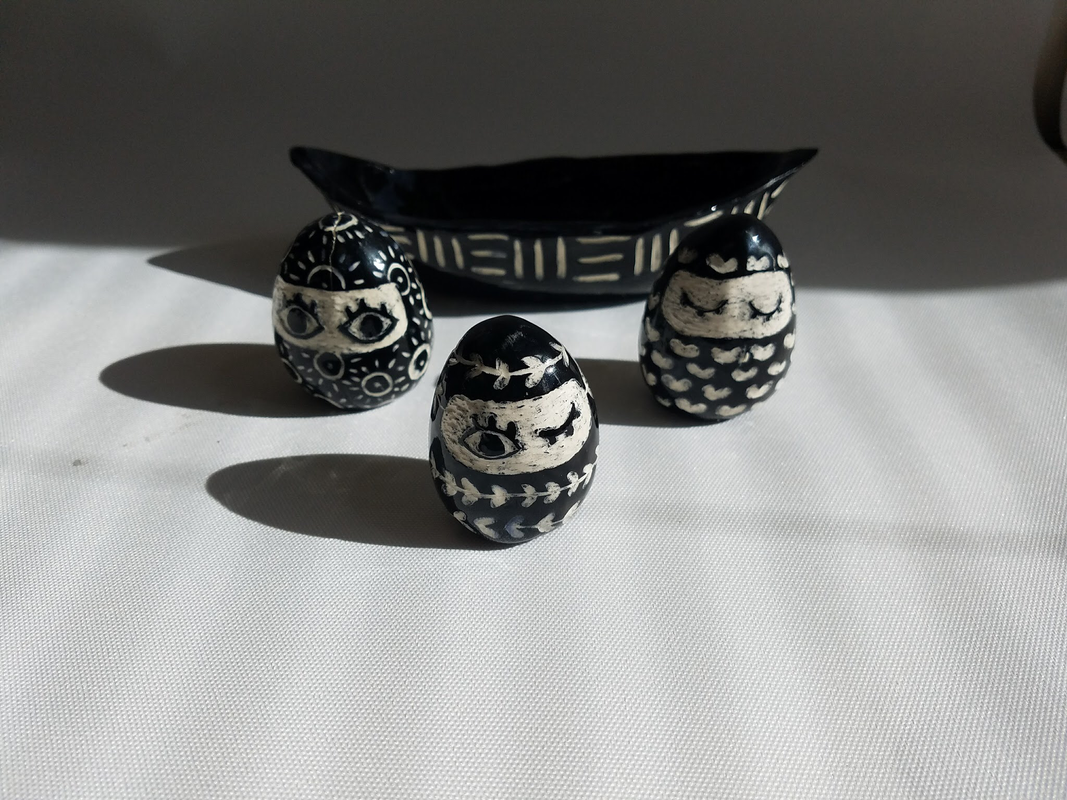
0 Comments
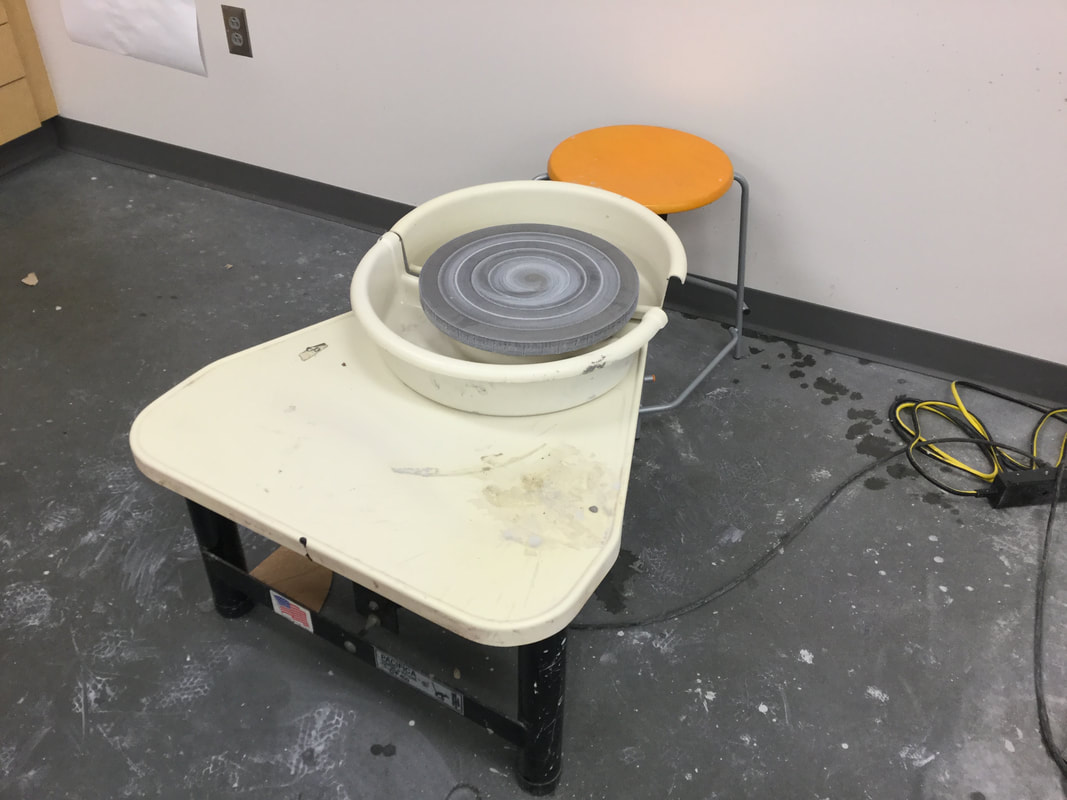
Process: You need to center your clay first, then smooth it out with one hand on the side and on on the top. Then shape your clay however you want and slice it off the wheel with wire cutters. Difficulties: keeping the piece from going lopsided is the biggest difficulty for me and as you can kinda tell from the picture my piece need up being lopsided anyway. Successes: For my first time on the wheel, this was a pretty darn good piece. It felt natural to me but it might have been beginners luck. 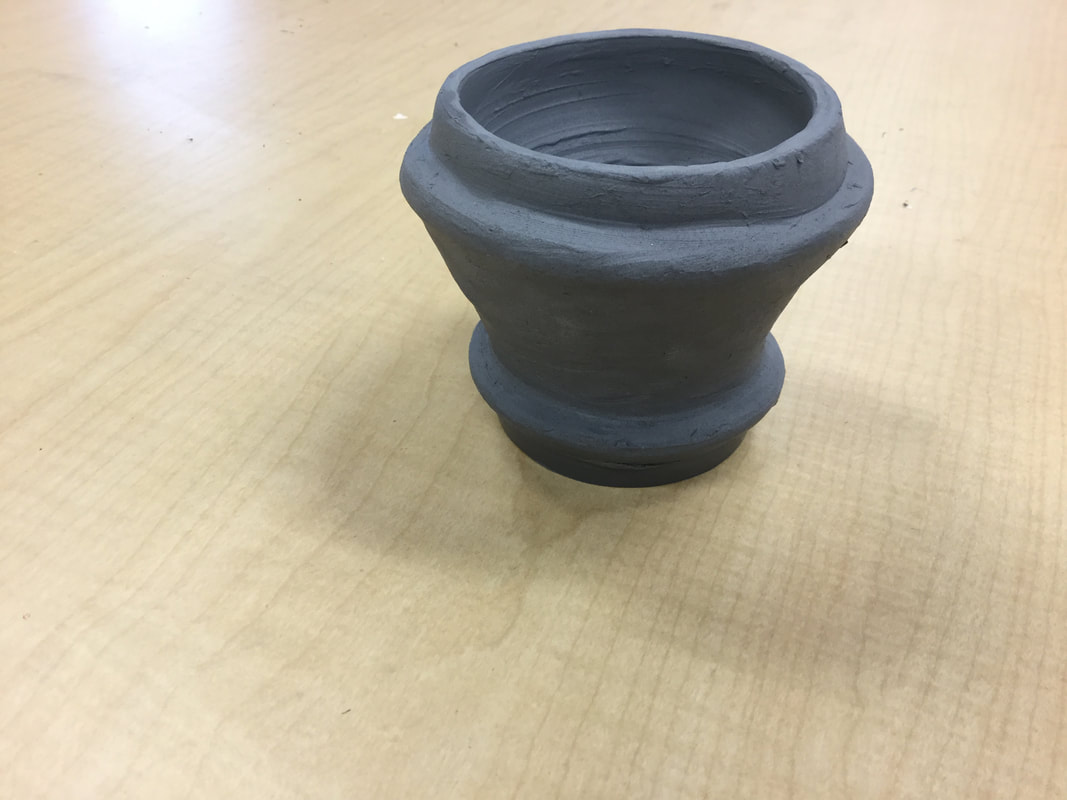 Process: I used stuffed plastic bags to make the structure and attached it with masking tape. I use pencils for legs and a ball pit ball split in half for the eyes. I covered it in newspaper and painted it white, as seen in the “in progress” picture. I painted him and them added a beak and attached him to a wooden board. Success: I made a whole fricken chicken! Also I like the neck feathers because there’s so much detail. Difficulties: almost everything... He doesn’t stand up straight, his gobble is lopsided, his beak isn’t exactly right compared to the movie, and he doesn’t have a butt. Process: I rolled a slab of clay and pressed the texture into it. Then, I rolled the textured slab onto a cylinder and slid it off. I made the pods by pushing the bottom together 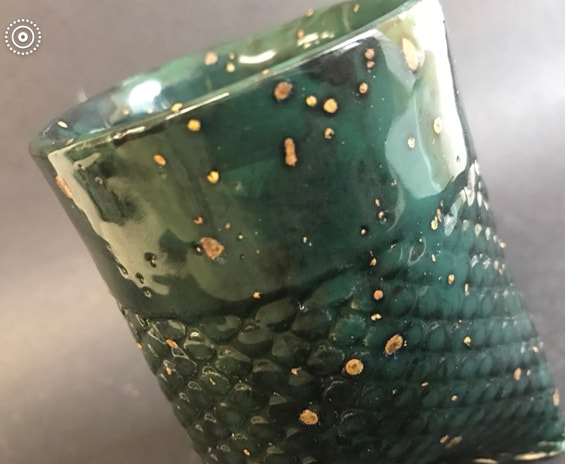 Process: First, you must create the desired shap of your piece by coiling or doing slab work. You fire it once, then use chemicals, wood, organic products, and other materials to coat your piece. You wrap it in aluminum to keep the materials close, and place it in a burning pit for a prolonged period of time. The materials will burn into your piece, leaving marks. Then you coat it with wax and use a heat gun to seal it.
I think my pice was very successful considering some first piece don’t turn out so well. It had drips of acid that looked pretty cool. If I got to do it again, I would add more materials to the pottery because there was a lot of empty space on my piece that could have been more interesting if it were filled with different colors and textures.
1. What inspired this piece was my grandmother who lives in New York City. When my mother was little, she used to have a bowl filled with delicately painted ceramic eggs that was the first thing you saw in her little New York apartment. I wanted to make one for my mother, as a sort of tradition. 2. My process so far has included kneading the clay and then molding it into half of an egg. Then, I attached the halves together and molded them into the shape I wanted. The basket is still a work in progress, as I’m not happy with the shape yet and will continue to work with it. Sgraffito- Italian, to scratch Register- Bars that separate a vase/ pot from different parts of a story. My group chose the Volute Krater. This piece was usually used for wine at parties or watering down the wine, so people don't get too drunk. If the piece depicted death, the pottery was sometimes used as grave markers. 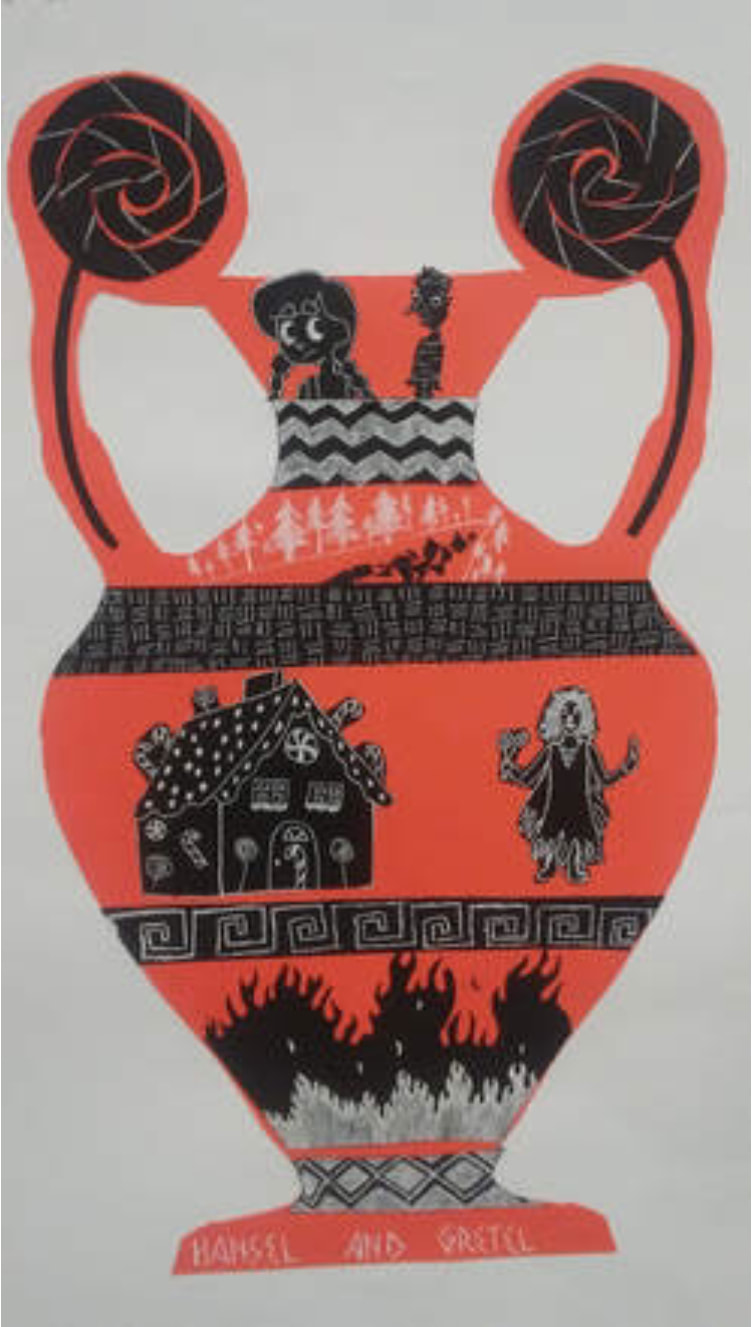 1. I had trouble getting started on my project, I just wasn’t feeling the medium of paper and i had no inspiration. I dragged out the first couple weeks and barely did anything. Then, I pulled inspiration from my little sister and decided I was going to give it to her. Then, for about a week, I cranked out every day and I got it finished in that week. I really enjoyed the finished product and I can’t wait to give it to my sister! 2. The most difficult thing for me about this project was the lack of inspiration I had with working with paper. Every day felt like a week to me but I later realized it was because I didn’t have all my materials, and once I got my fairy lights and I knew exactly what I was going to do, I got over that difficulty. I could see it all come together in my head. 3. My success was in the layers and depth of my piece. It really created a forest illusion and the lights were a finishing touch. 1. One thing I found difficult was getting the paper to stay in the shape that I wanted it to, so to fix that I used chicken wire. 2. One thing I found successful was the color of orange against the metal wire and the form and shape of my project. Picture: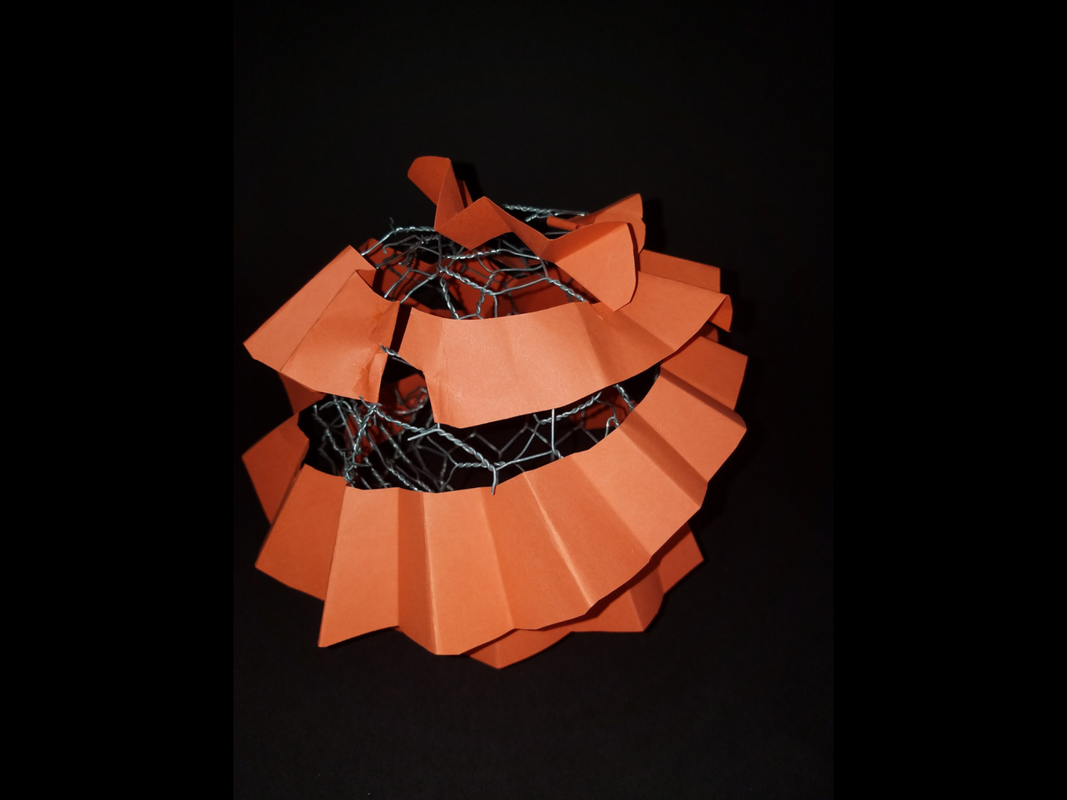 |
Archives
January 2018
Categories |

 RSS Feed
